

Did you know that around 20 percent of dogs suffer from ear problems at some point in their lives? Ear cleaning is not just about keeping your pet tidy, it also keeps painful infections at bay. Using the right supplies and a gentle approach protects your dog’s hearing and happiness. With clear steps and the proper tools, anyone can turn ear cleaning into a simple, stress-free part of their dog’s routine.
Quick Summary
| Key Point | Explanation |
|---|---|
| 1. Gather necessary cleaning supplies | Collect vet-approved ear cleaners, absorbent materials, and treats for positive reinforcement before starting the cleaning process. |
| 2. Create a calm environment for cleaning | Choose a quiet space and time. Use gentle handling techniques and rewards to help your dog feel relaxed during the process. |
| 3. Apply cleaner properly and massage ears | Fill the ear canal with cleaner, gently massage the base of the ear, and watch for your dog’s comfort levels throughout the process. |
| 4. Wipe and clean carefully | Use cotton balls or gauze to gently clean the outer ear, never insert into the canal. Always use fresh materials for each ear. |
| 5. Inspect ears for issues post-cleaning | Carefully examine both ears for redness, swelling, or discharge. Early detection of problems can prevent serious health issues. |
Table of Contents
- Step 1: Gather Essential Dog Ear Cleaning Supplies
- Step 2: Prepare Your Dog for a Stress-Free Experience
- Step 3: Apply Cleaner and Gently Massage the Ears
- Step 4: Wipe Away Debris and Excess Solution Carefully
- Step 5: Inspect Ears and Monitor for Signs of Issues
Step 1: Gather Essential Dog Ear Cleaning Supplies
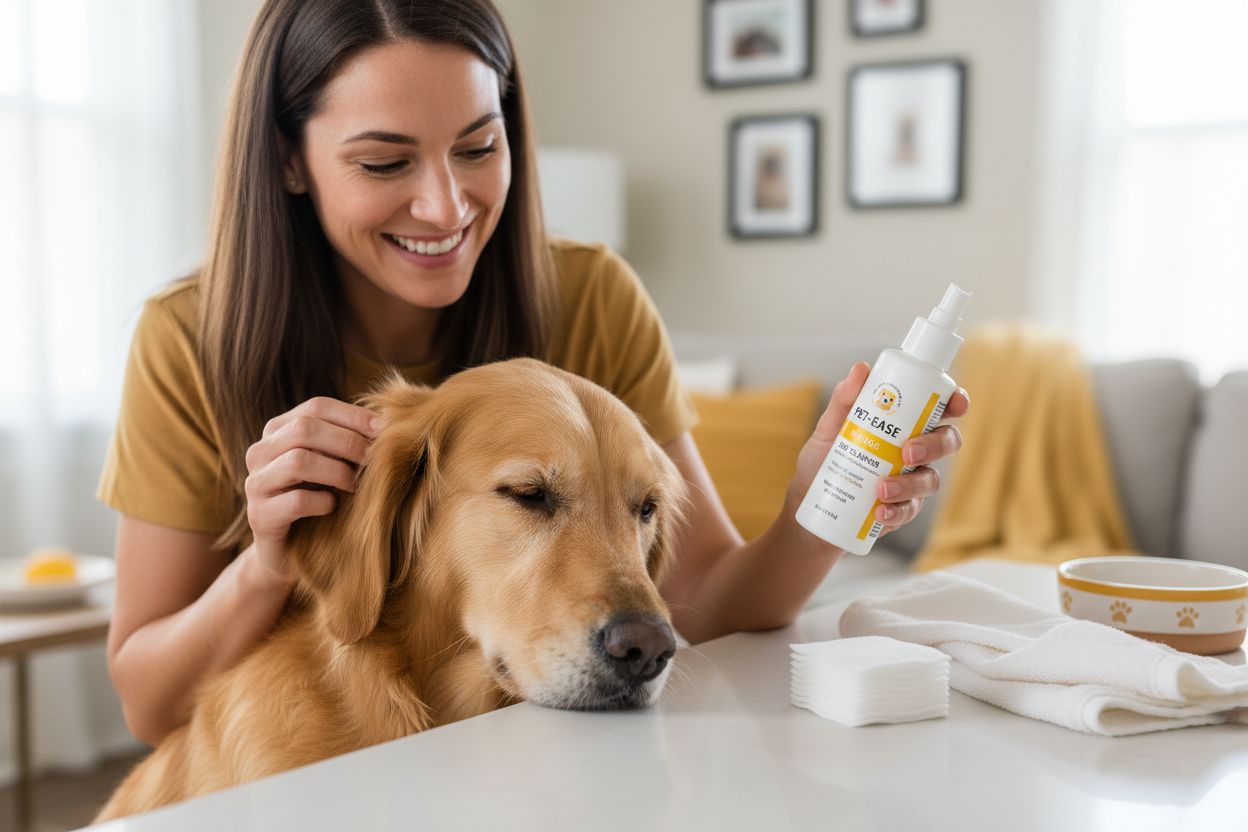
Preparing for dog ear cleaning means collecting all necessary supplies before starting your pet’s grooming routine. Gathering the right materials will help make the process smooth and stress-free for both you and your furry friend.
Start by collecting vet-approved ear cleaning solutions specifically designed for dogs. 7 Best Dog Grooming Accessories Every Owner Needs recommends alcohol-free solutions like Virbac Epi-Otic, VetWELL, Dechra Epiklean, Otiderm, and Vetoquinol. These gentle solutions will help safely remove dirt and prevent potential ear infections.
You’ll need soft, absorbent materials to help clean and dry your dog’s ears. Stock up on:
Here’s a summary of essential ear cleaning supplies and their purposes:
| Supply | Purpose | Notes |
|---|---|---|
| Vet-approved ear cleaner | Removes dirt, prevents infection | Select alcohol-free formulas |
| Cotton balls or gauze pads | Wipes debris, absorbs solution | Use clean, fresh pieces per ear |
| Soft paper towels | Dries excess moisture | Useful for final drying steps |
| Nonslip mat | Provides stability | Keeps dog safe and secure |
| Treats (optional) | Positive reinforcement | Use soft, high-value treats |
- Clean cotton balls or gauze pads
- Soft paper towels
- A nonslip mat for stability during cleaning
- Optional: treats for positive reinforcement
According to veterinary experts, early desensitization is key. Practice touching your dog’s head and ears gently before the actual cleaning, helping them become comfortable with the process. This approach reduces anxiety and makes future ear cleanings easier.
Once you’ve gathered your supplies, you’ll be ready to move on to the actual ear cleaning technique. Remember that patience and a calm demeanor will make this grooming task much more pleasant for your canine companion.
Step 2: Prepare Your Dog for a Stress-Free Experience
Reducing stress during ear cleaning starts with creating a calm and positive environment for your dog. Your approach can make the difference between a smooth grooming session and a challenging experience.
Begin by choosing a quiet space where your dog feels comfortable and secure. Pick a time when your pet is relaxed and not overly energetic or tired. If your dog gets anxious during travel or new experiences, Essential Dog Travel Gear Process for Hassle-Free Trips suggests using calming techniques that can also apply to grooming situations.
Practice gentle ear handling in short sessions before the actual cleaning. Start by softly touching your dog’s head and ears during calm moments like cuddle time or after walks. Reward these interactions with treats and praise to create positive associations. This gradual desensitization helps your dog understand that ear touching is not threatening.
Prepare some high-value treats that your dog loves. These will serve as rewards during and after the ear cleaning process. Choose soft treats that can be quickly consumed so they do not interrupt the cleaning rhythm.
Remember to stay calm and patient. Dogs are incredibly perceptive to human emotions and will mirror your energy. If you approach ear cleaning with confidence and gentleness, your dog is more likely to remain relaxed and cooperative.
With these preparation steps complete, you’ll be ready to move forward with the actual ear cleaning technique confidently and smoothly.
Step 3: Apply Cleaner and Gently Massage the Ears
Applying ear cleaner correctly is crucial for effectively removing dirt and preventing potential infections. This step requires patience, gentle technique, and a calm approach to make the experience comfortable for your dog.
According to veterinary experts, start by gently lifting your dog’s ear flap to straighten the ear canal. This positioning helps create a clear path for the cleaning solution. 8 Must-Have Dog Travel Accessories List for Pet Owners emphasizes the importance of handling your pet with care during grooming processes.
Carefully fill the ear canal with a warm veterinarian-approved cleaning solution. Important tip: do not insert the bottle tip directly into the ear canal. Instead, hold the bottle close and let the solution flow gently. As research from veterinary clinics suggests, aim to fill the canal without causing discomfort.
Once the solution is in place, gently massage the base of the ear for 20 to 30 seconds. You might hear a soft squelching sound this is normal and indicates the solution is working to loosen debris and wax. The massage helps distribute the cleaner thoroughly and can be a bonding moment with your pet.
Watch your dog’s reaction closely. If they seem uncomfortable or show signs of distress, pause and offer a treat or take a break. Not all dogs will immediately enjoy this process, and patience is key to building trust.
After massaging, allow your dog to shake their head. This natural reaction helps remove excess solution and dislodged debris. Be prepared with a towel to catch any splatters and protect your surroundings.
With the ear massage complete, you are now ready to move on to the next step of gently wiping away the loosened dirt and solution.
Step 4: Wipe Away Debris and Excess Solution Carefully
After massaging the ear cleaner, you are now ready to remove the loosened debris and excess solution. This crucial step requires a gentle touch and careful technique to ensure your dog remains comfortable and clean.
10 Must-Have Items for Your Dog Travel Gear Checklist highlights the importance of being prepared with the right tools for pet care. In this case, soft cotton balls or gauze will be your primary cleaning tool.
According to veterinary experts, start by allowing your dog to shake their head naturally. This helps expel a significant amount of loosened wax and solution. Place a towel nearby to catch any flying moisture and protect your surrounding area.
Take a soft cotton ball or piece of gauze and gently wipe the visible parts of the inner ear and ear flap. Critical warning: never insert the cotton ball deep into the ear canal. Your goal is to clean the outer areas and remove surface debris. Veterinary research emphasizes that deep insertion can cause potential injury or push debris further into the ear.
Use a fresh cotton ball or section of gauze for each ear to prevent cross-contamination. If you notice excessive wax, dirt, or an unusual odor, consult your veterinarian as this might indicate an underlying ear infection.
Remember to praise and reward your dog throughout the process. This positive reinforcement helps make future ear cleaning sessions easier and less stressful for both of you.
With the debris and excess solution carefully wiped away, you are now ready for the final check and assessment of your dog’s ear cleaning process.
Step 5: Inspect Ears and Monitor for Signs of Issues
The final step of ear cleaning involves carefully examining your dog’s ears for any potential health concerns. This inspection is crucial for catching early signs of infection or other ear-related problems before they become serious.
Start by checking the overall appearance of both ears. Essential Dog Travel Gear Process for Hassle-Free Trips reminds us that careful observation is key in pet care. Look for any unusual signs such as redness, swelling, discharge, or an unpleasant odor.
Veterinary experts warn that certain symptoms require immediate professional attention. According to clinical research, warning signs include:
- Excessive redness or inflammation
- Thick or discolored discharge
- Strong or unusual odor
- Visible pain or discomfort when touching the ears
- Frequent head shaking or ear scratching
If your dog shows signs of significant discomfort or aggression during the cleaning process, it may indicate an underlying issue. Research from veterinary hospitals suggests that painful ears might require professional examination. In such cases, do not force the cleaning and consult your veterinarian promptly.
Regular ear inspections can help you catch potential problems early.
 Make ear checking a routine part of your dog’s grooming process. Gentle, consistent handling will help your dog become more comfortable with these checks over time.
By completing this thorough inspection, you have successfully navigated the entire ear cleaning process. Remember that every dog is unique, and patience is your greatest tool in maintaining your pet’s ear health.
Keep Your Dog’s Ears Healthy With Trusted Tools and Care
Cleaning your dog’s ears at home can feel overwhelming if you are not prepared. If you have ever struggled with messy solutions, squirming pets, or concerns about causing discomfort, you are not alone. This guide highlighted how having the right vet-approved supplies is crucial for effective and stress-free ear care. Every step from gathering quality cleaners to handling your dog gently makes a difference for their comfort and safety.
Why settle for uncertainty or makeshift tools? At Wuffinity.store, you will find a curated selection of ear cleaning products and essential grooming supplies designed just for your needs. We offer only high-quality, pet-safe options recommended by professionals. Shop for alcohol-free solutions, soft applicators, and treats for positive reinforcement, all in one easy place. Take charge of your dog’s health and comfort now. Visit Wuffinity.store today to give your pet the gentle ear care they deserve.
Frequently Asked Questions
How often should I clean my dog’s ears?
Cleaning your dog’s ears typically depends on their breed and ear condition. Generally, aim to clean them every 3 to 4 weeks. Establish a routine to foster a comfortable cleaning experience for both you and your pet.
What supplies do I need to clean my dog’s ears safely?
Gather vet-approved ear cleaning solutions, soft cotton balls or gauze pads, soft paper towels, and a nonslip mat for stability. Having these items ready will streamline the cleaning process and keep your dog comfortable.
What steps should I follow to clean my dog’s ears properly?
Begin by securing your supplies and preparing a calm environment for your dog. Apply the ear cleaner gently, massage the ears, and then wipe away debris without inserting anything deep into the ear canal. Follow up with an inspection to monitor for any signs of infection or discomfort.
How can I help my dog stay calm during ear cleaning?
Create a relaxing environment and employ gentle handling techniques well before the cleaning session. Use treats to reinforce positive behavior and practice ear touching during relaxed moments to build a sense of familiarity and trust.
What signs should I look for after cleaning my dog’s ears?
Inspect your dog’s ears for signs of redness, swelling, unusual discharge, or any odd odor. If you notice any concerning symptoms or if your dog shows discomfort, consult your veterinarian for further evaluation.
Can I clean my dog’s ears if they have an ear infection?
Avoid cleaning your dog’s ears if you suspect an infection, as it may cause further irritation. Schedule an appointment with your veterinarian for a thorough evaluation and treatment plan to address the underlying issue.
0 Kommentare